
Console Quick Start
From new account to a live, globally delivered site in about ten minutes — all from your browser. No terminal, no config files.
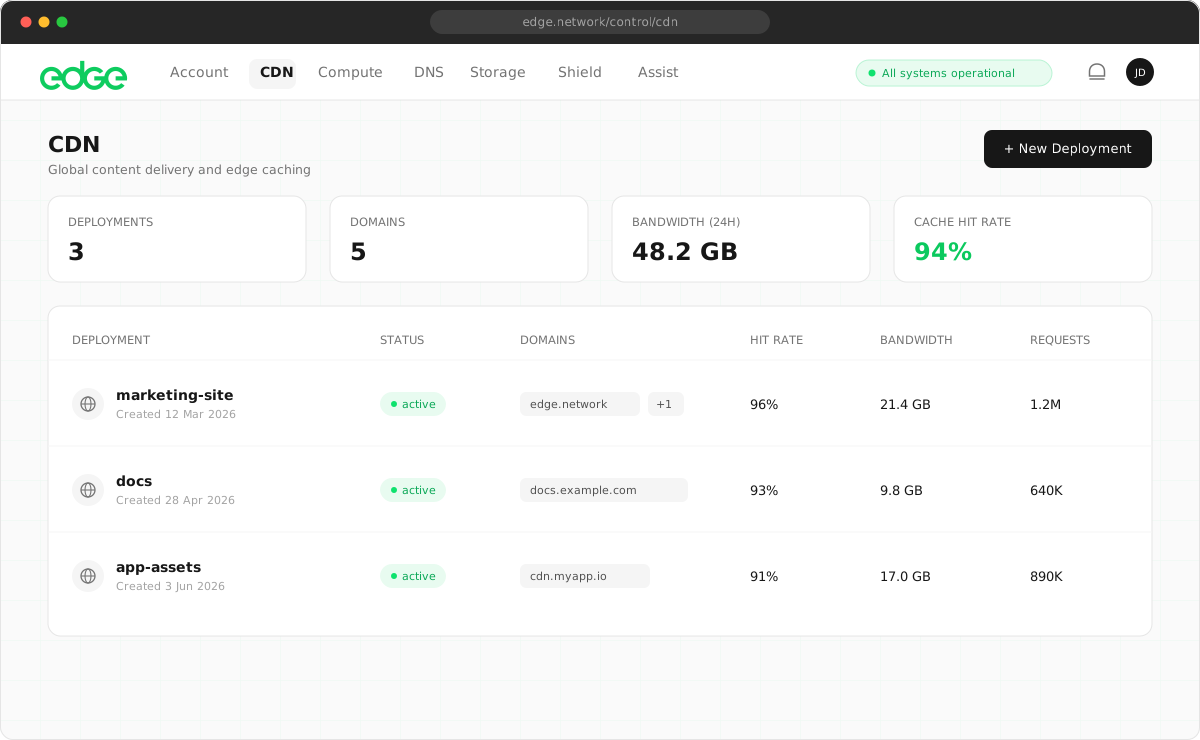
STEP 1
Create your account
Sign up here — it takes about two minutes. Verify your email and you land in the console with the free tier already active: CDN delivery, object storage, DNS hosting, and Shield bot protection, all usable immediately.
Nothing in this guide costs money. The free tiers are hard-capped by design — if you ever reach a limit, things pause rather than start billing. Paid usage only happens when you explicitly opt in.
STEP 2
Get your bearings
Everything lives in the left sidebar. The five you'll use most:
- CDN: put any site or origin behind global delivery
- Compute: launch virtual machines in a few clicks
- DNS: host domains with fast, geo-routed resolution
- Storage: S3-compatible buckets for files and static sites
- Shield: bot protection for forms and pages
Billing shows your balance and usage at any time, and Support is a real human — no ticket-bot maze.
STEP 3
Put a site live
The fastest first win: host a static site — a portfolio, a landing page, any folder of HTML — served worldwide over HTTPS.
- Create a bucket. Go to Storage, click Create Bucket, give it a name.
- Upload your files. Open the bucket and drag your site files in —
make sure there's an
index.htmlat the top level. - Connect it to the CDN. Go to CDN, open your deployment, and in the Domains tab click Add Domain. Choose Storage Bucket as the origin type and select your bucket.
- Use a test domain. No domain handy? Pick a
test.networksubdomain during setup — it works instantly, no DNS changes needed.
SSL is provisioned automatically within a minute. Open your new URL — your site is being served from the nearest of 2,200+ edge locations.
Sharing a work-in-progress? Click the lock icon on the domain to require a username and password — a private preview URL you can share safely. More on password protection.
STEP 4
Point a real domain (optional)
When you're ready to use your own domain, add it in the same Domains tab.
The console shows you exactly one DNS record to create — a CNAME pointing at
cdn.edge.network —
and verifies it for you.
If your domain's DNS is hosted on Edge, there's an Add to Edge DNS button that creates the record in one click. Hosting DNS here is free — add your domain under DNS and point your registrar at our nameservers.
STEP 5
Protect a form with Shield (optional)
Got a contact or signup form getting bot spam? Go to Shield, create a widget, and copy the two-line snippet into your page. Shield verifies visitors are human with a privacy-first check — free, forever, on any site.
Where to go from here
Everything you just did in the console can also be done from the command line, the REST API, or by an AI agent — same platform, pick your interface.